
Create
Creating atmospheric photos with a plexiglass and colored lights.
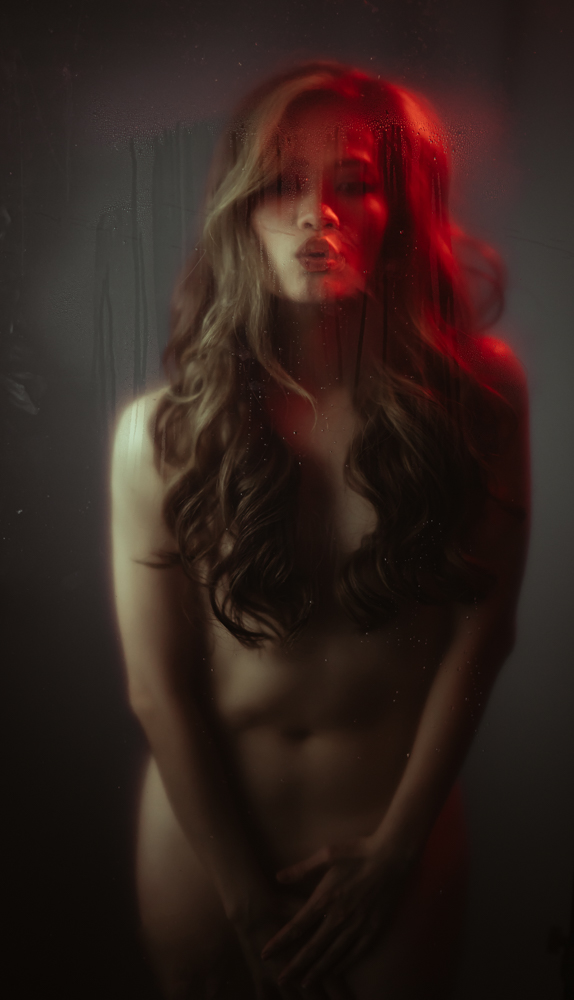
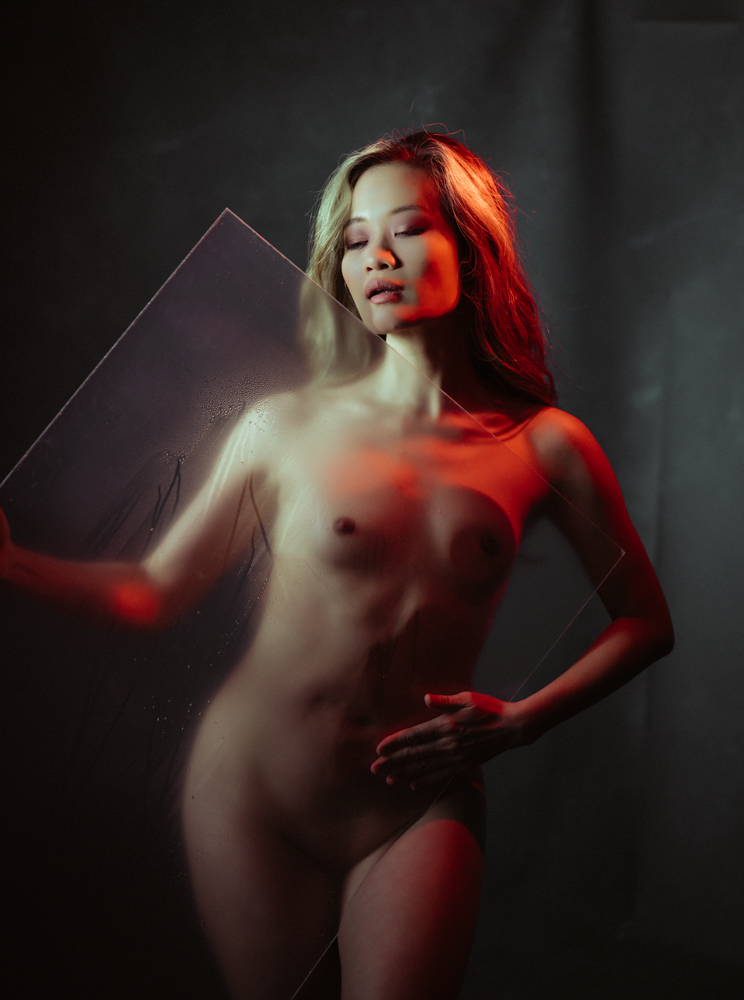
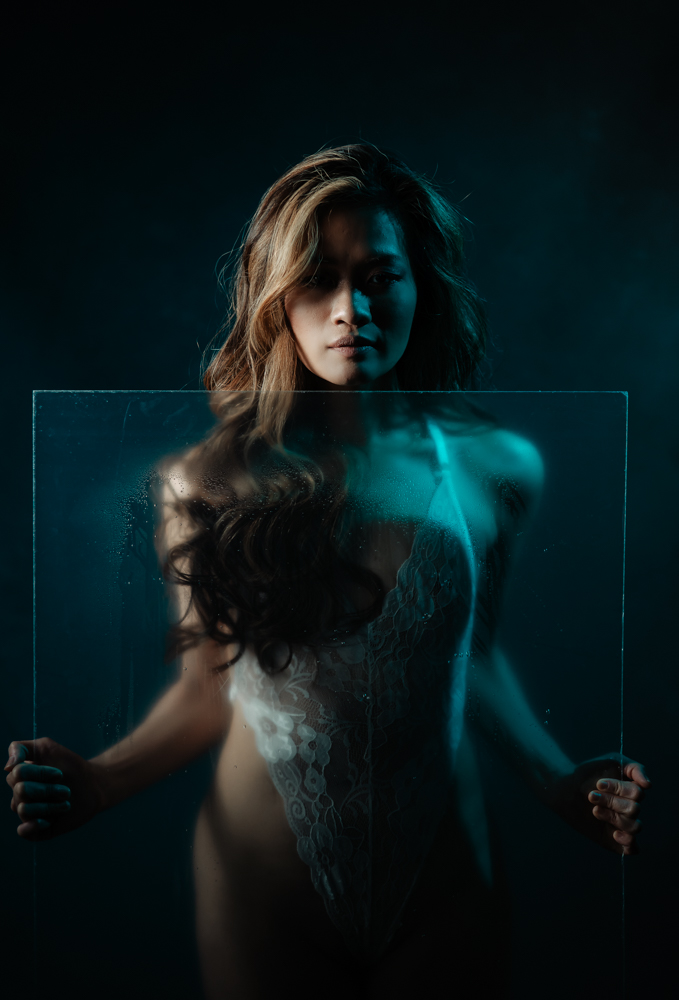
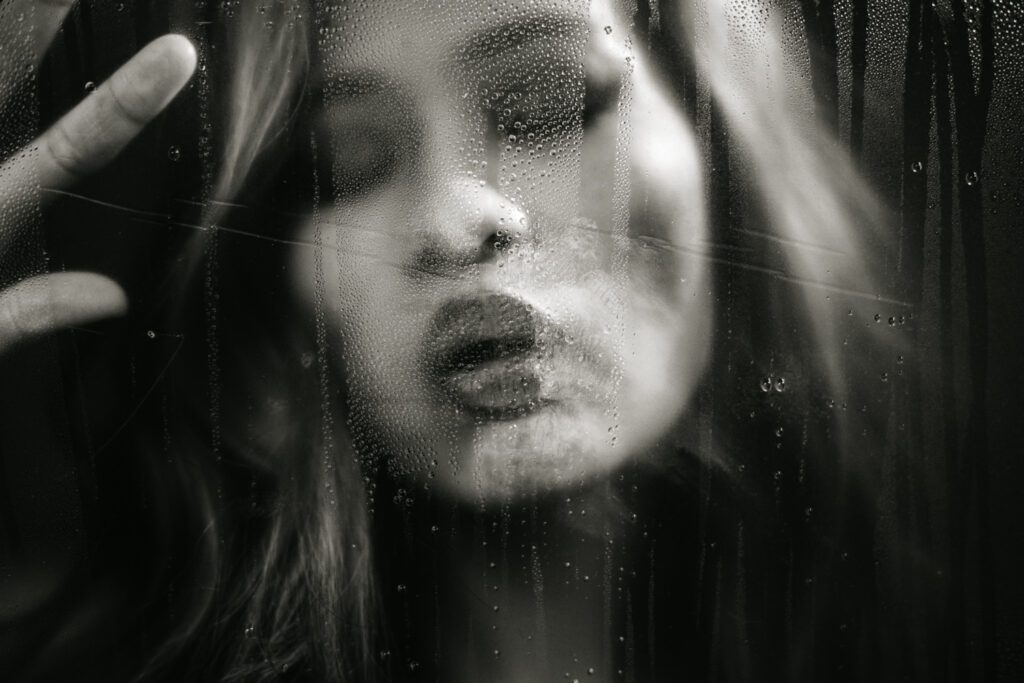
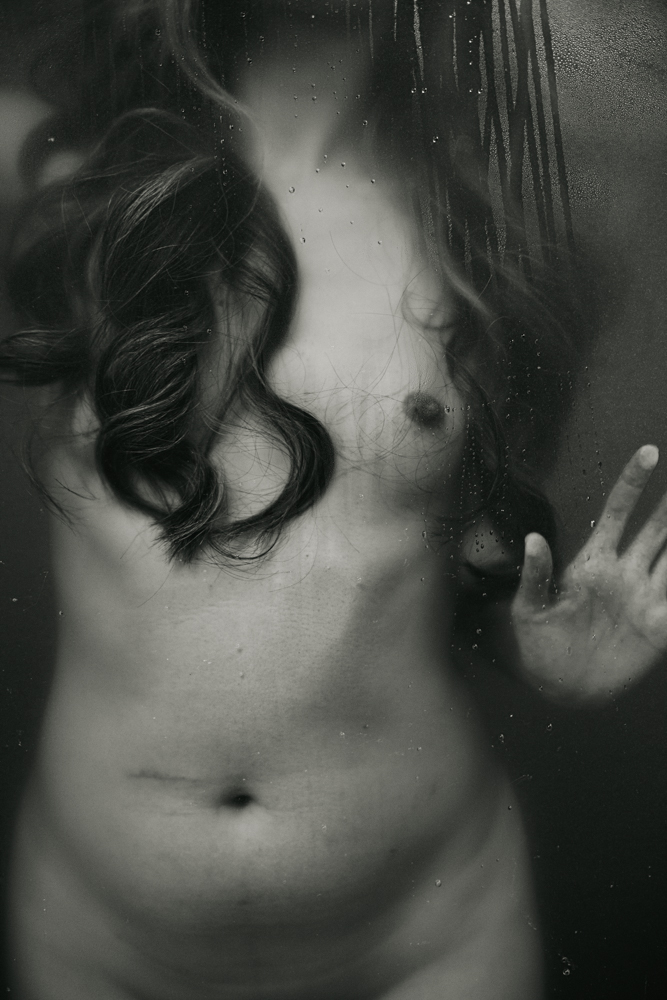
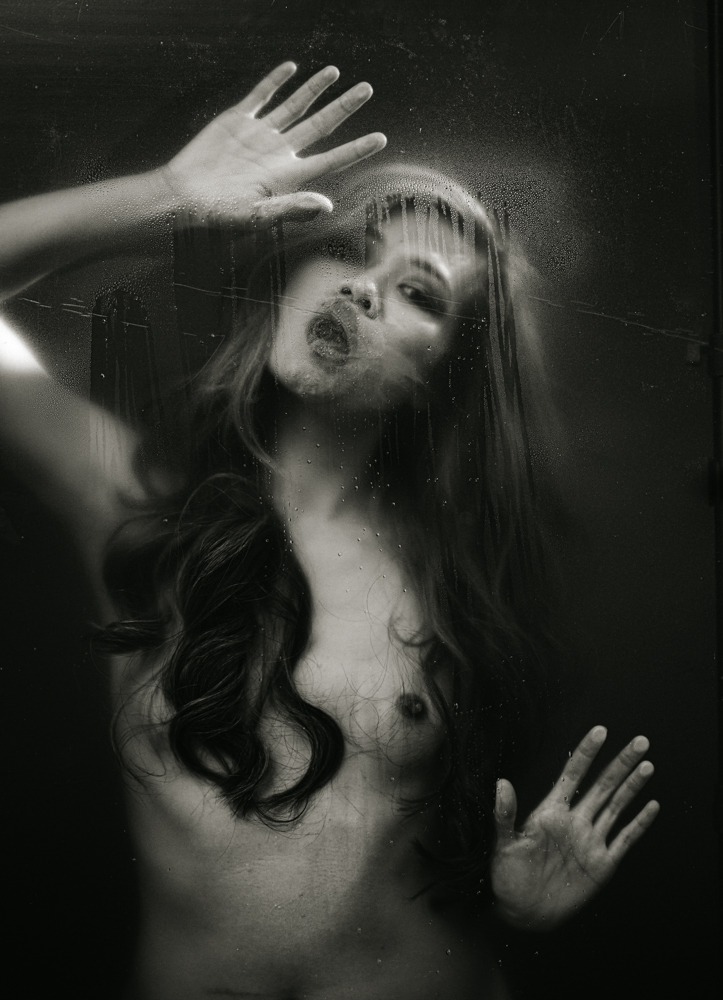
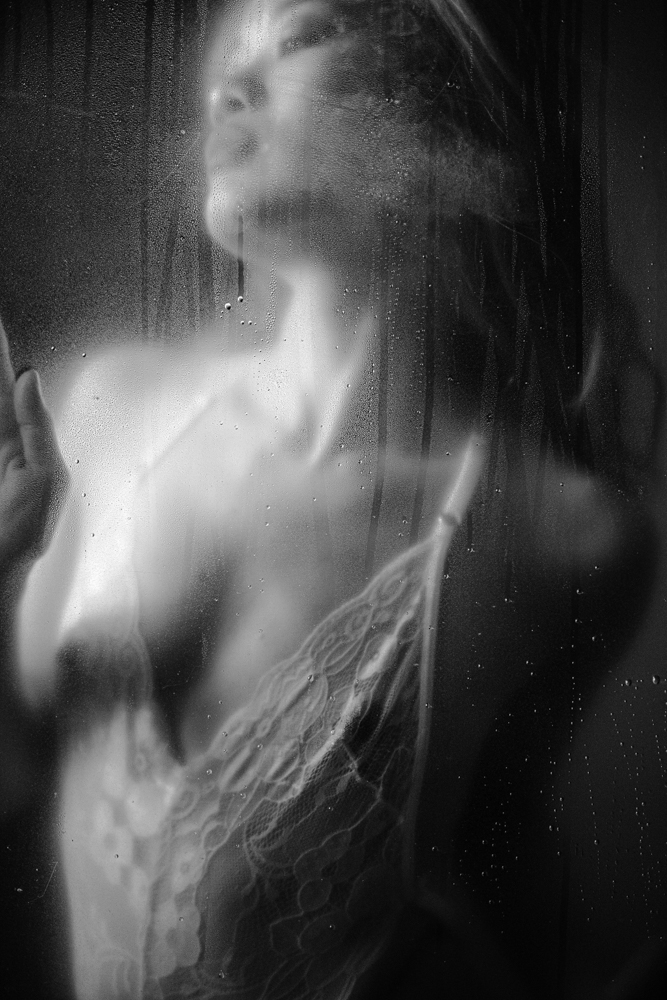
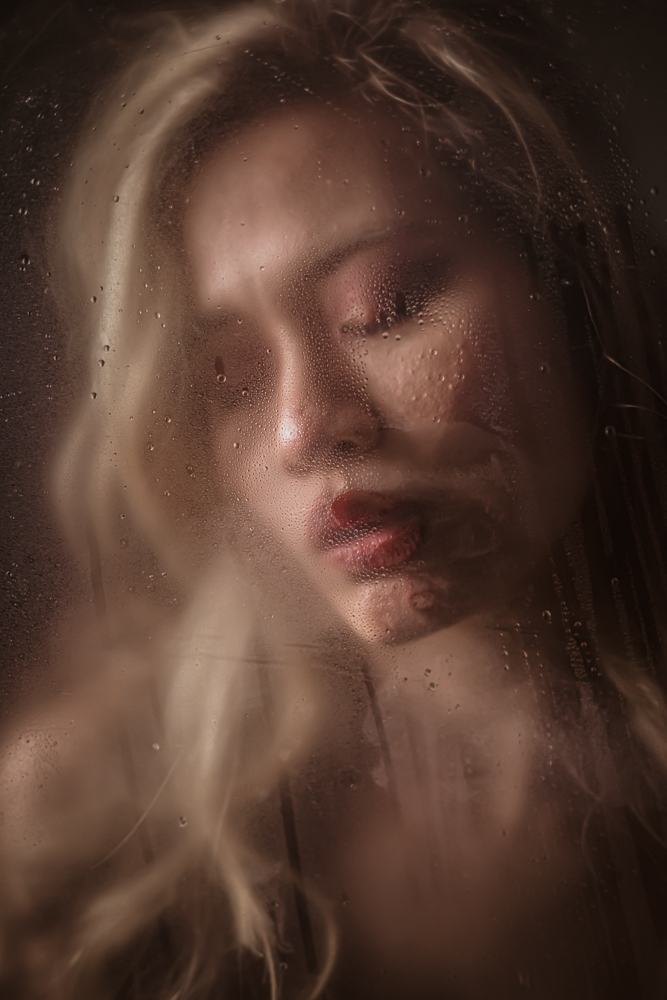
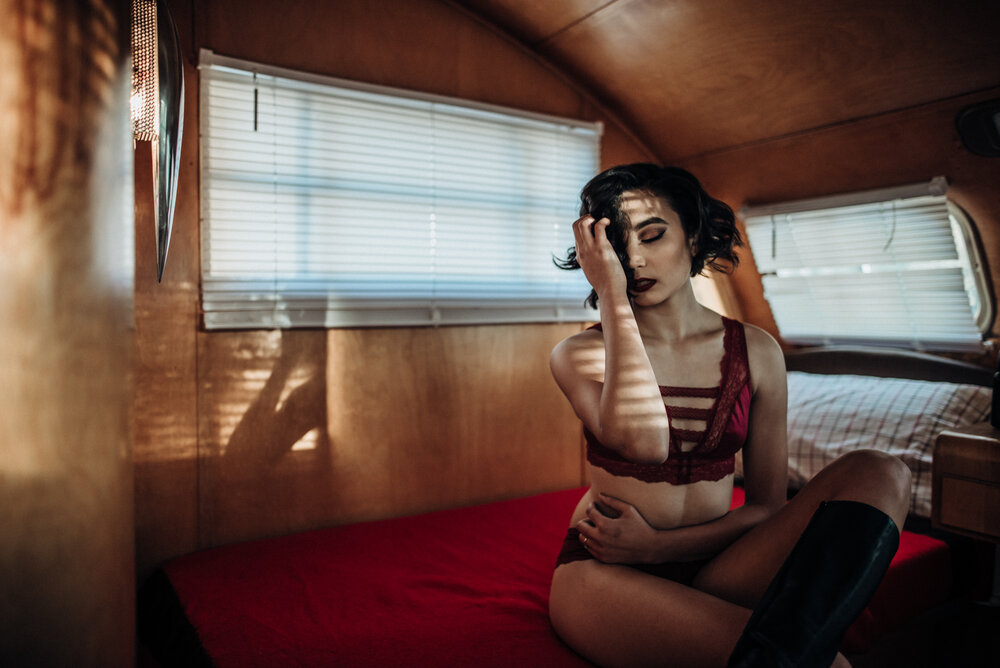
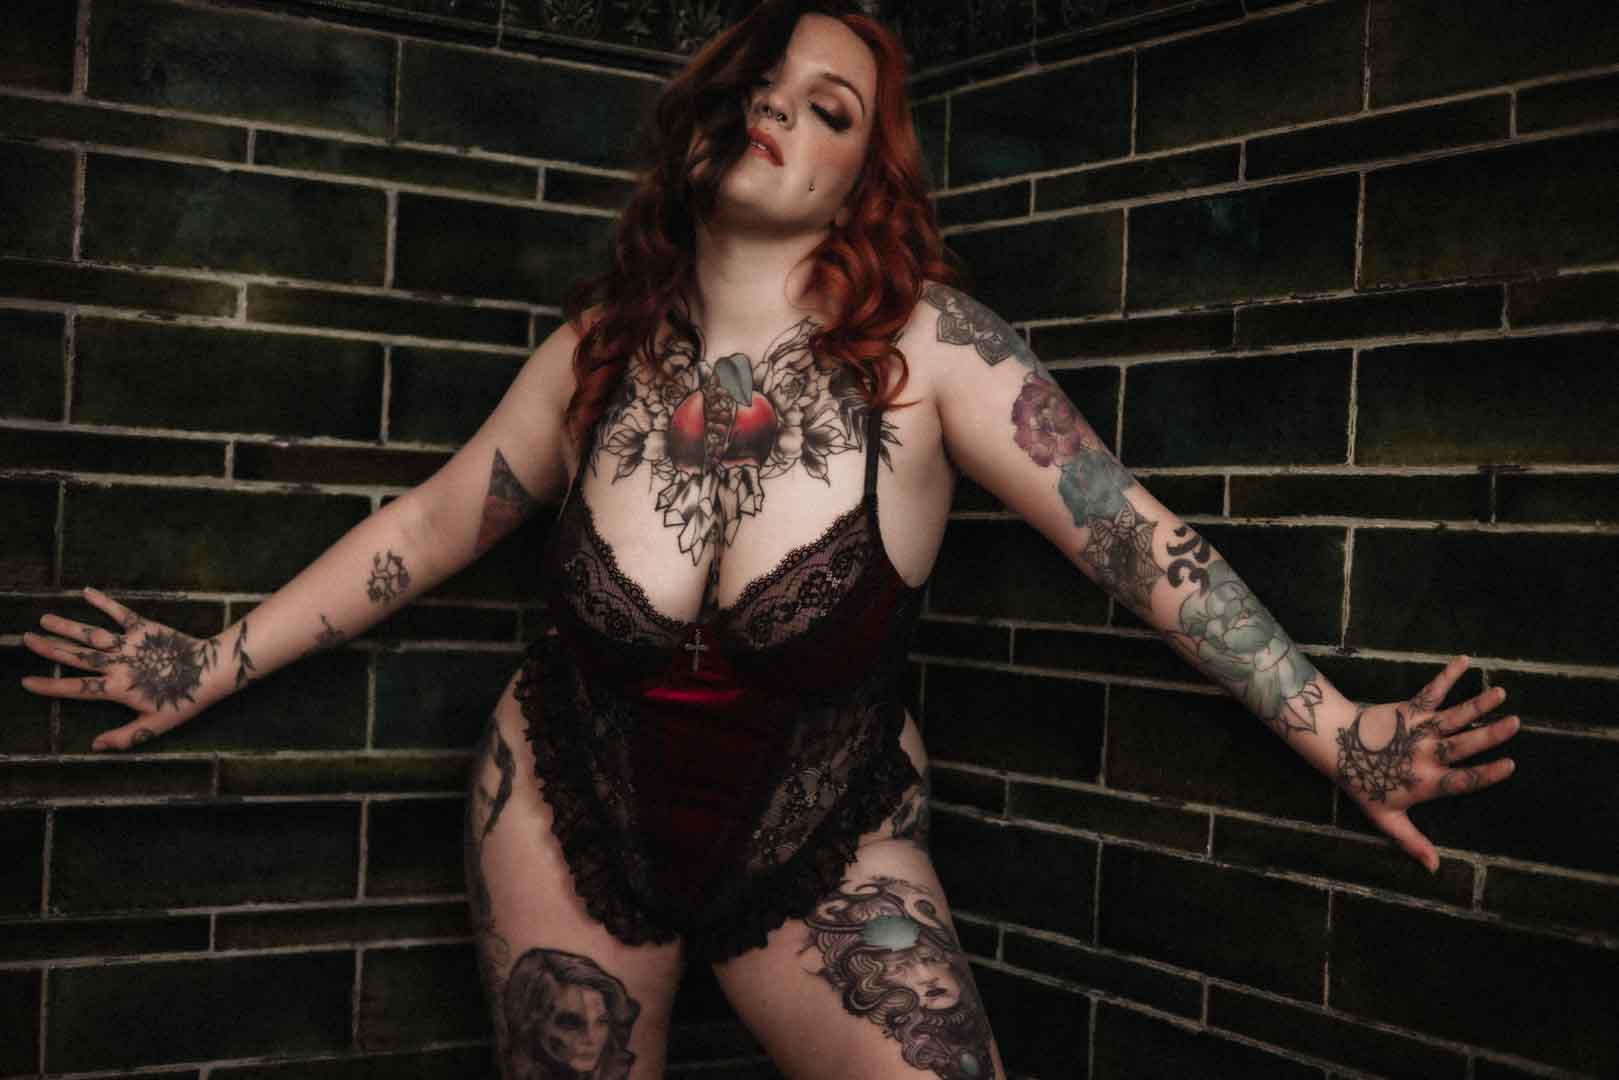
Creating interesting photos often involves simple yet creative techniques. One method is using a plexiglass and spraying water on it to create an interesting texture and visual effect like someone is taking a shower.
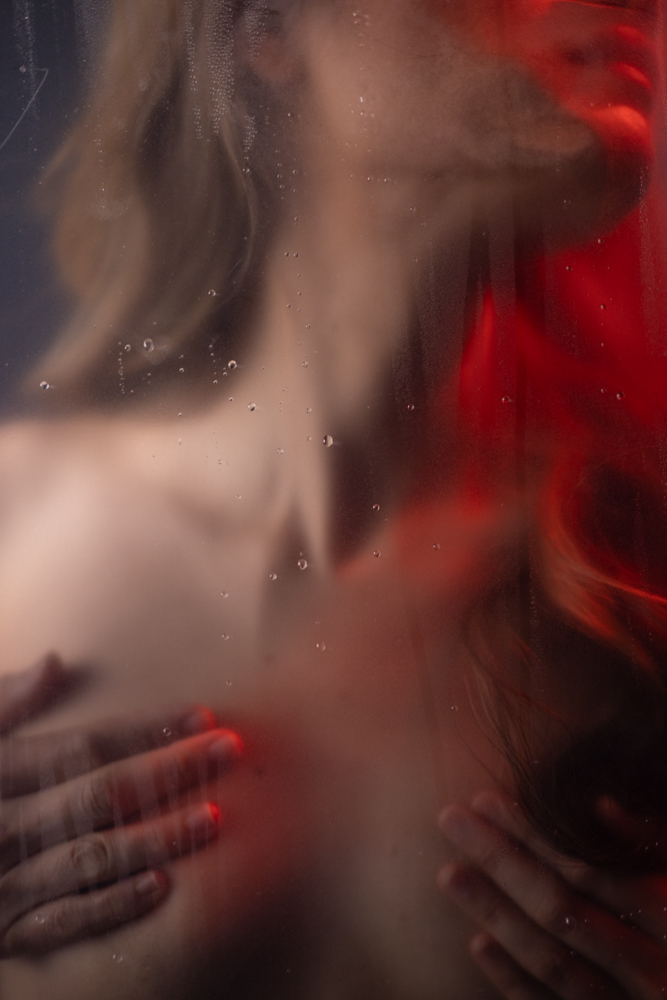
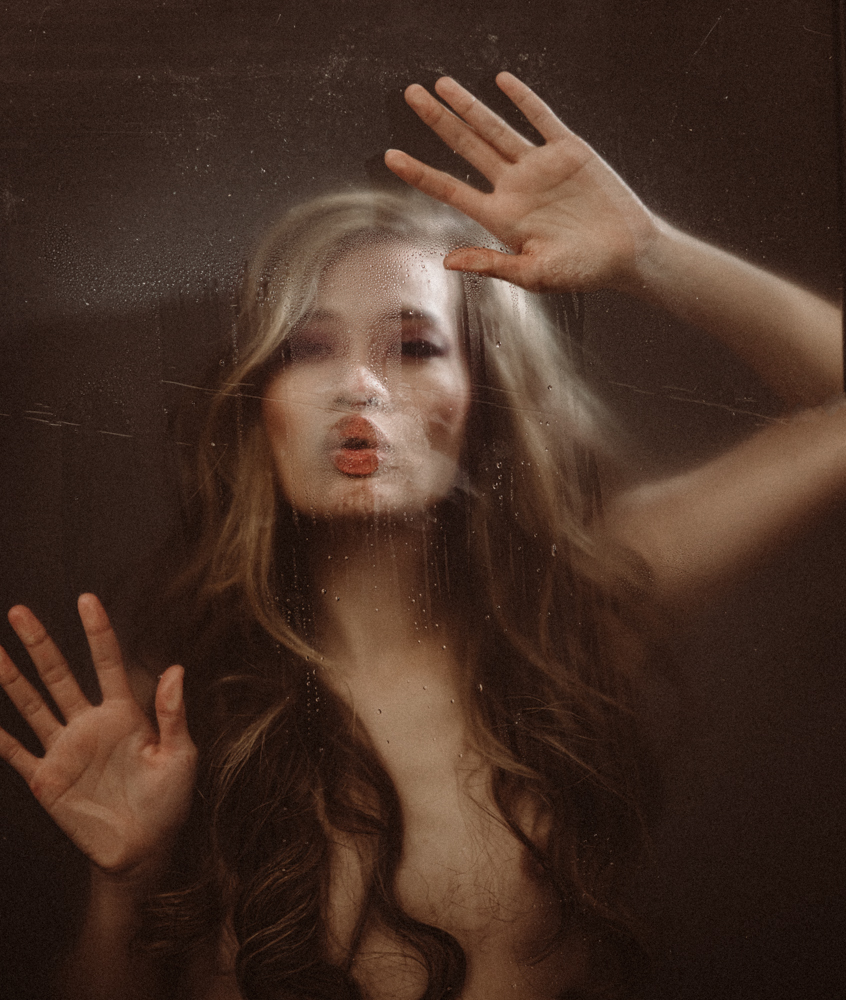
When combined with colored lighting, such as red and blue, you can achieve interesting results.
Here’s a step-by-step guide to mastering this technique.
Materials Needed:
- Plexiglass Window: A clear, flexible plastic sheet works well. You can find these at most hardware or craft stores.
- Spray Bottle: Filled with water. A fine mist setting is ideal for creating small water droplets.
- Hobo Lite: Ensure you have access to red and blue lighting options. (Take 5% off using code JJADE5)
- Camera: Canon R 5 – 50mm 1.8 lens
- Tripod: To keep your camera steady during the shoot.
- Backdrop : I used what I had already hanging. Gravity Backdrop.
Setup:
- Prepare the Plexiglass Window:
- Secure the plexiglas vertically. You can have your client hold it or attach it to a frame or light stands.
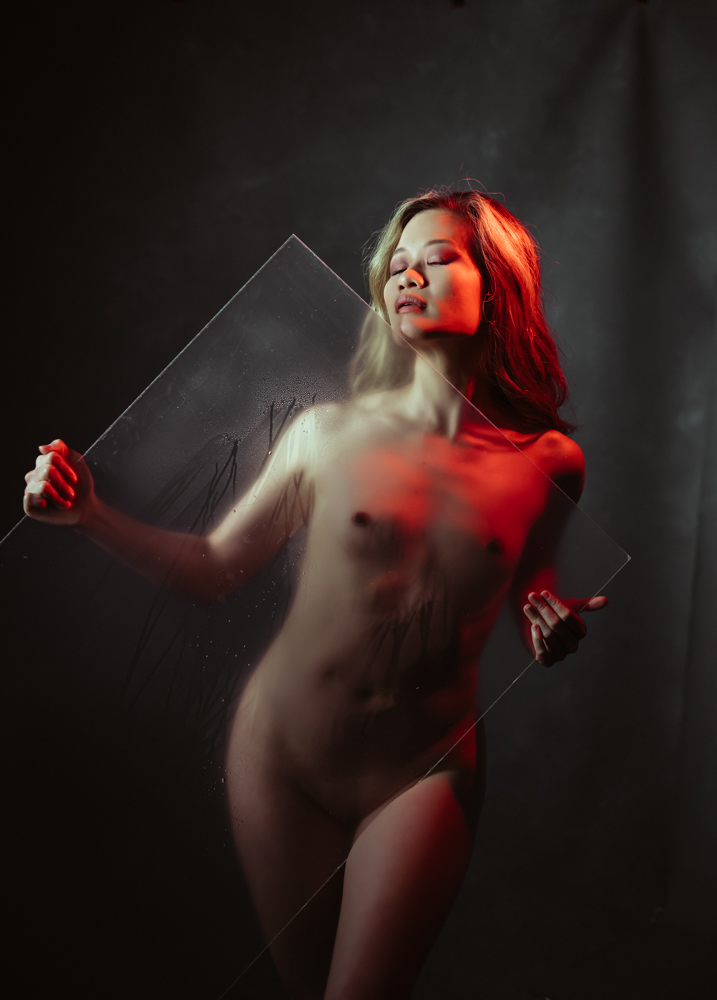
- Make sure the plastic is clean to avoid unwanted spots that aren’t water droplets or do it like I did keep the protection cover on for a weird effect.
- Spray the Water:
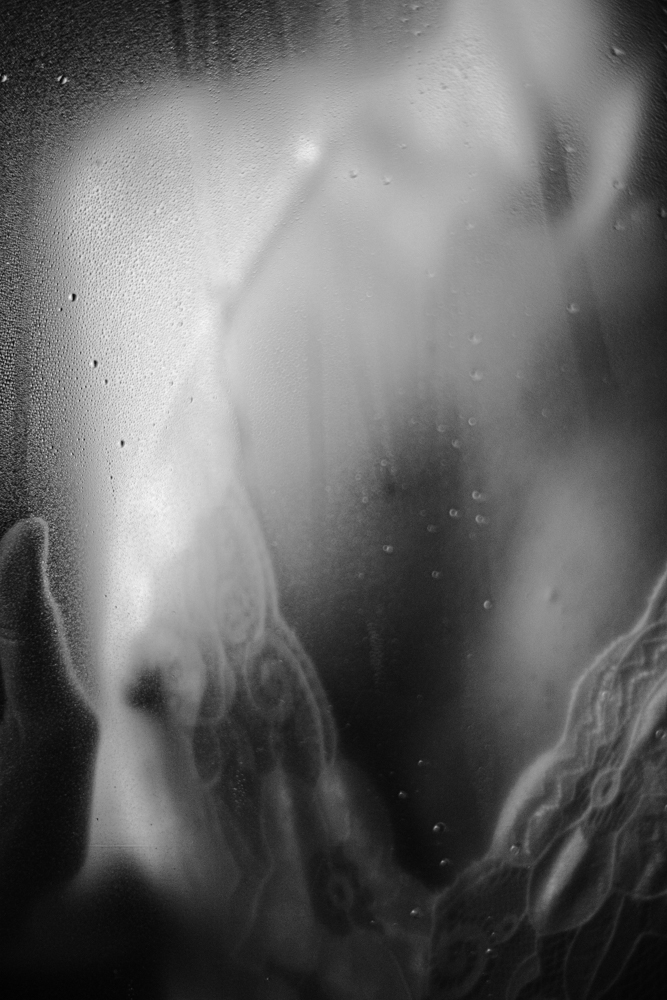
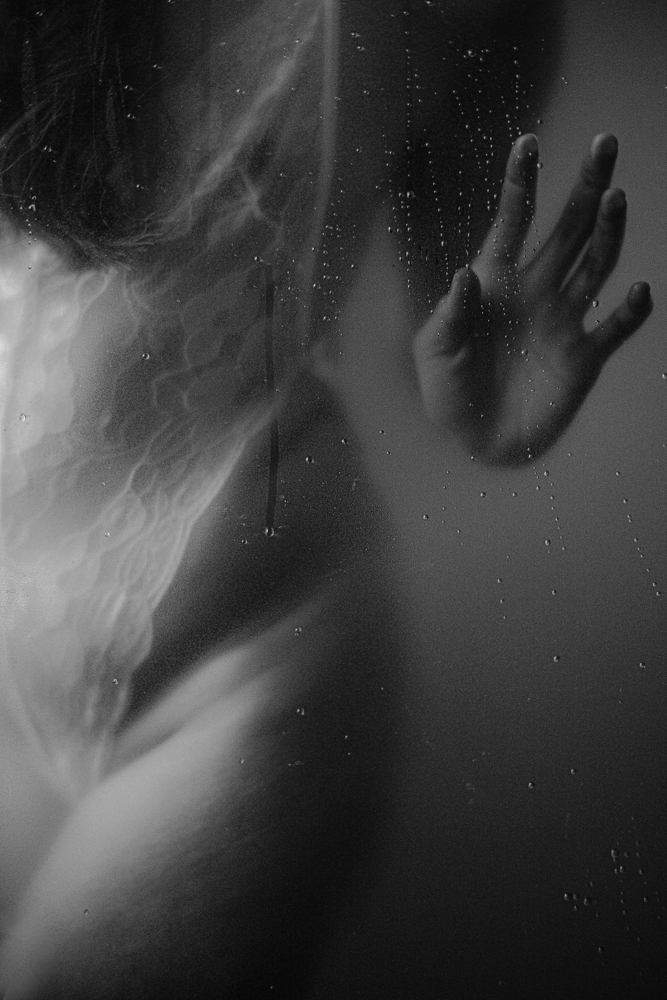
- Use the spray bottle to mist water onto the plastic window. Adjust the nozzle to get fine droplets, which will create a beautiful bokeh effect when lit.
- Spray evenly across the plastic to cover the entire surface with droplets.
- Position the Hobo Lite:
- Place the Hobo Lite behind the plastic window. Ensure it is angled to illuminate through the droplets or angled in a way it illuminates your client from one side.
- Look at how the light falls onto your client and adjust.
- Set the light to red and blue. You can use either one color or a combination, depending on the mood you want to create.
- Camera Setup:
- Position yourself in front of the plastic window.
- Use a macro lens or a standard lens with a wide aperture (f/1.8 or f/2.8) to achieve a shallow depth of field.
- Set your camera to manual mode. Start with a low ISO (100 or 200) to reduce noise, a wide aperture to blur the background, and adjust the shutter speed to get the right exposure. A slower shutter speed will allow more light in.

Shooting:
- Focus:
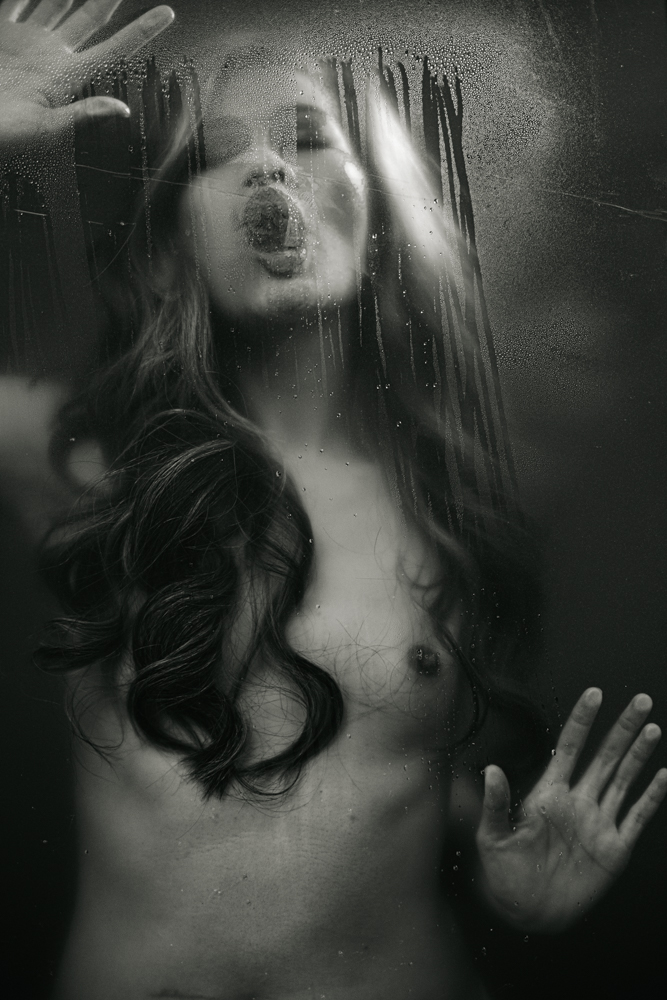
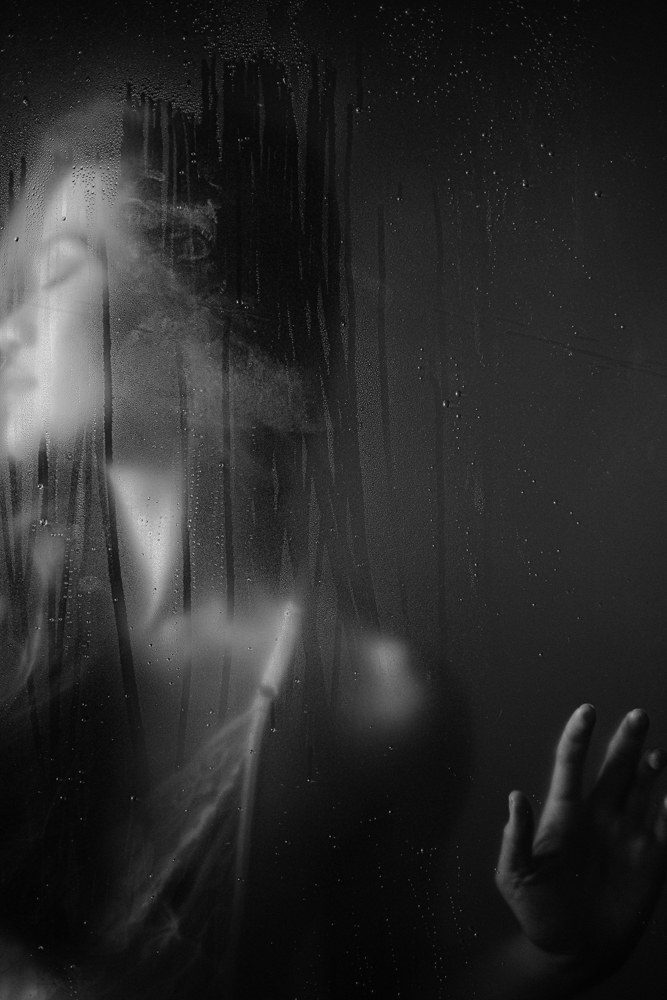
- Manually focus on the water droplets on the plexiglass window. The droplets should be sharp, creating a contrast with the blurred background or focus on your client behind the window.
- Lighting Adjustments:
- Experiment with the positioning and intensity of the Hobo Lite. Moving the light closer or further away will change the brightness and spread of the light.
- Mix the red and blue lights to create gradients and transitions in color, enhancing the visual interest.
- Composition:
- Try different angles and compositions. Shoot straight on, from the side, or at a slight angle to capture different reflections and refractions of light through the droplets.
- Adjust the distance between your camera and the plastic window to vary the bokeh effect. Closer distances will emphasize the droplets, while stepping back will integrate more of the background light.
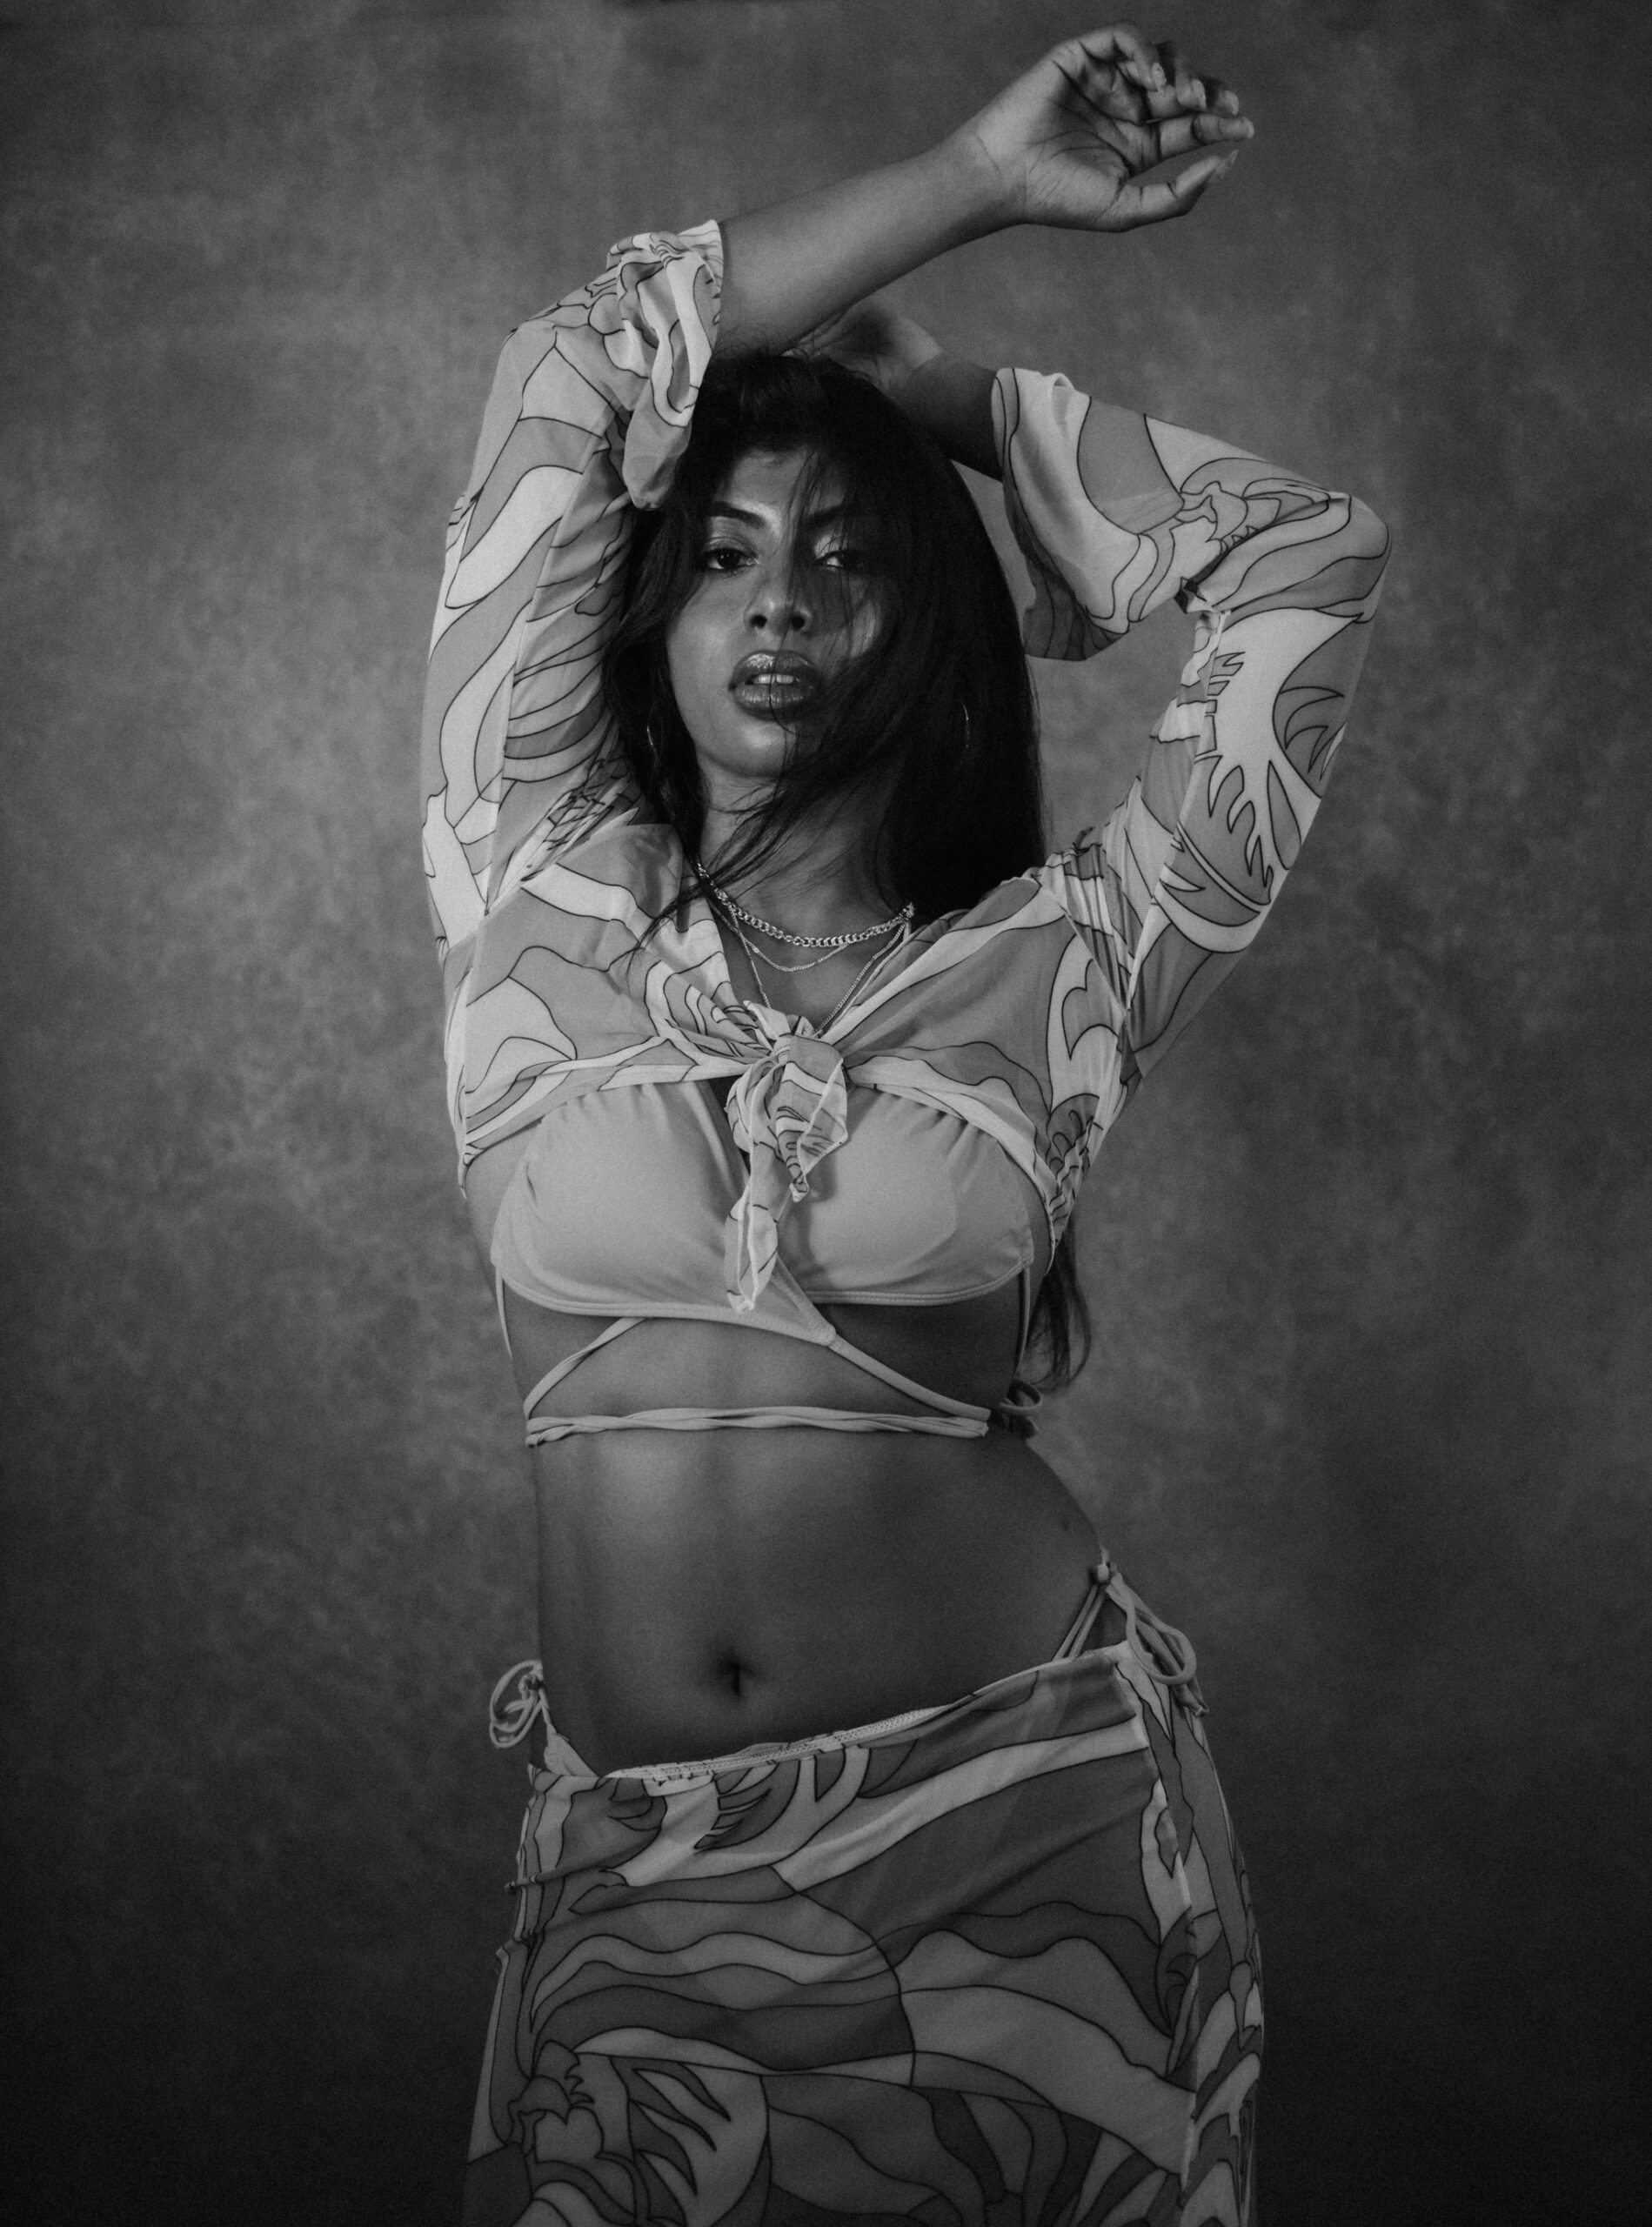
How to pose women in photography →
Post-Processing:
- Enhance Colors:
- Use editing software to boost the saturation of the red and blue hues if needed.
- Adjust the contrast and clarity to make the water droplets stand out more.
- I used EMBRACE PRESETS for these color images.
- Sharpening:
- Apply slight sharpening to the water droplets to enhance their clarity.
- Crop and Straighten:
- Crop the image to improve composition and remove any distracting elements.
Using a plexiglass window and spraying water on it combined with the red and blue lights from a Hobo Lite can create captivating, dreamy photos.
Experiment with these steps to find your unique style and capture stunning images. Happy shooting!
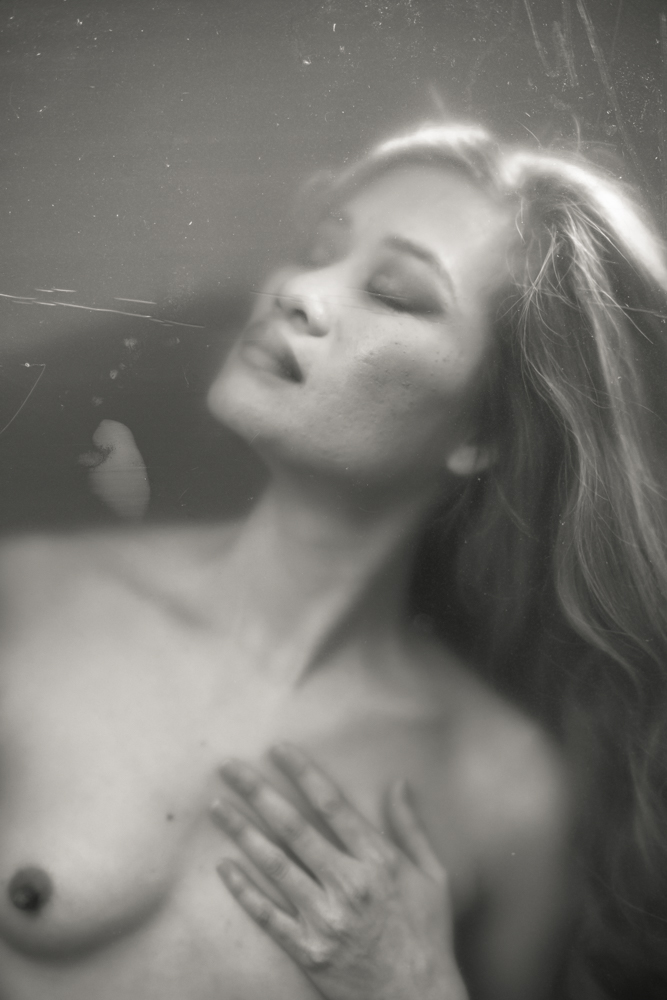
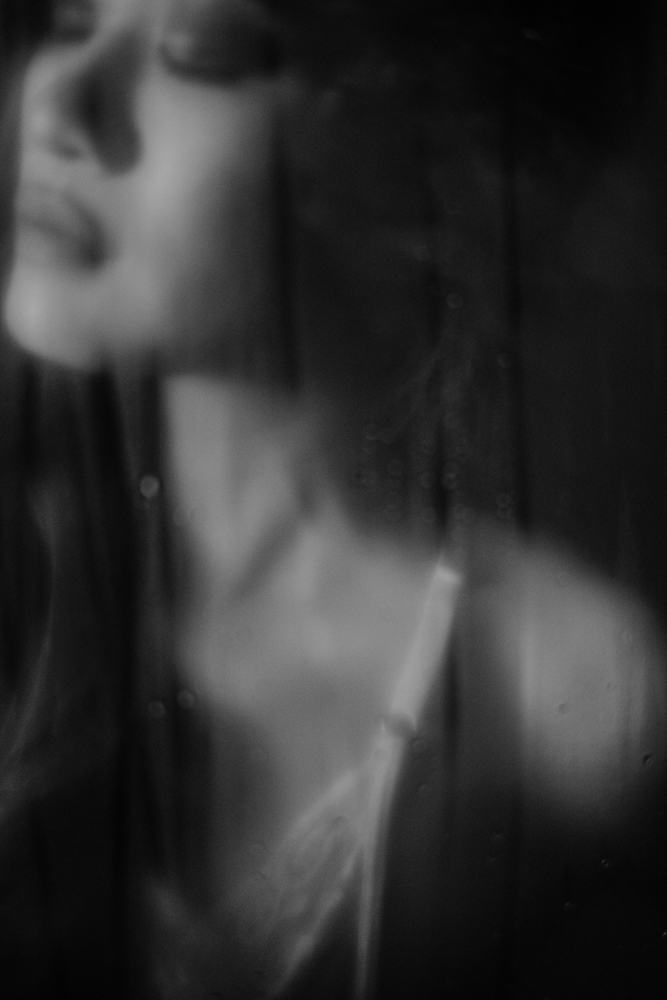
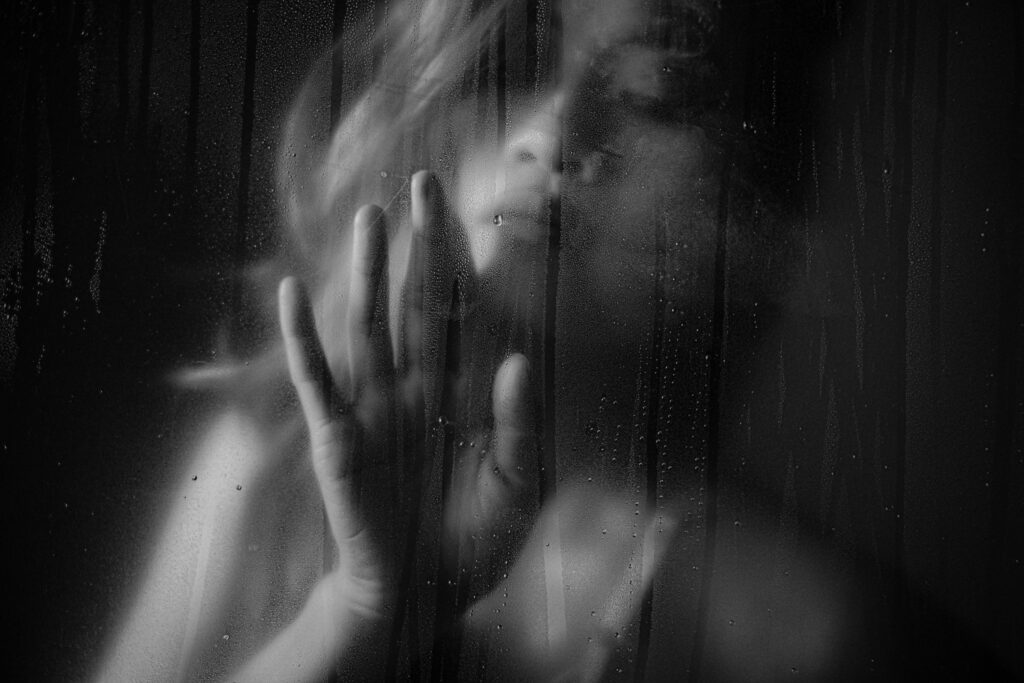
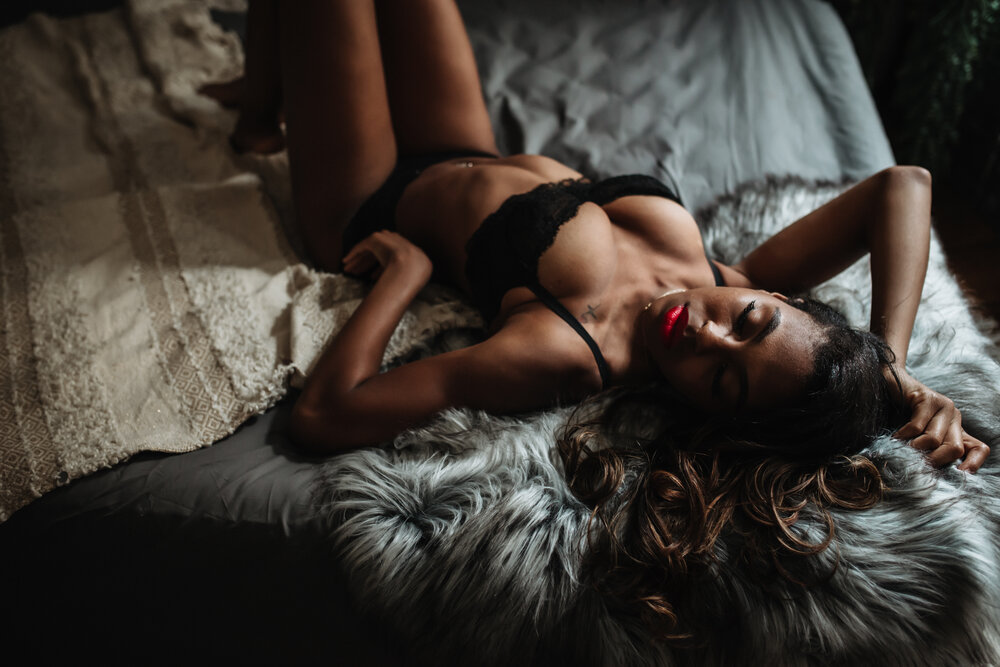
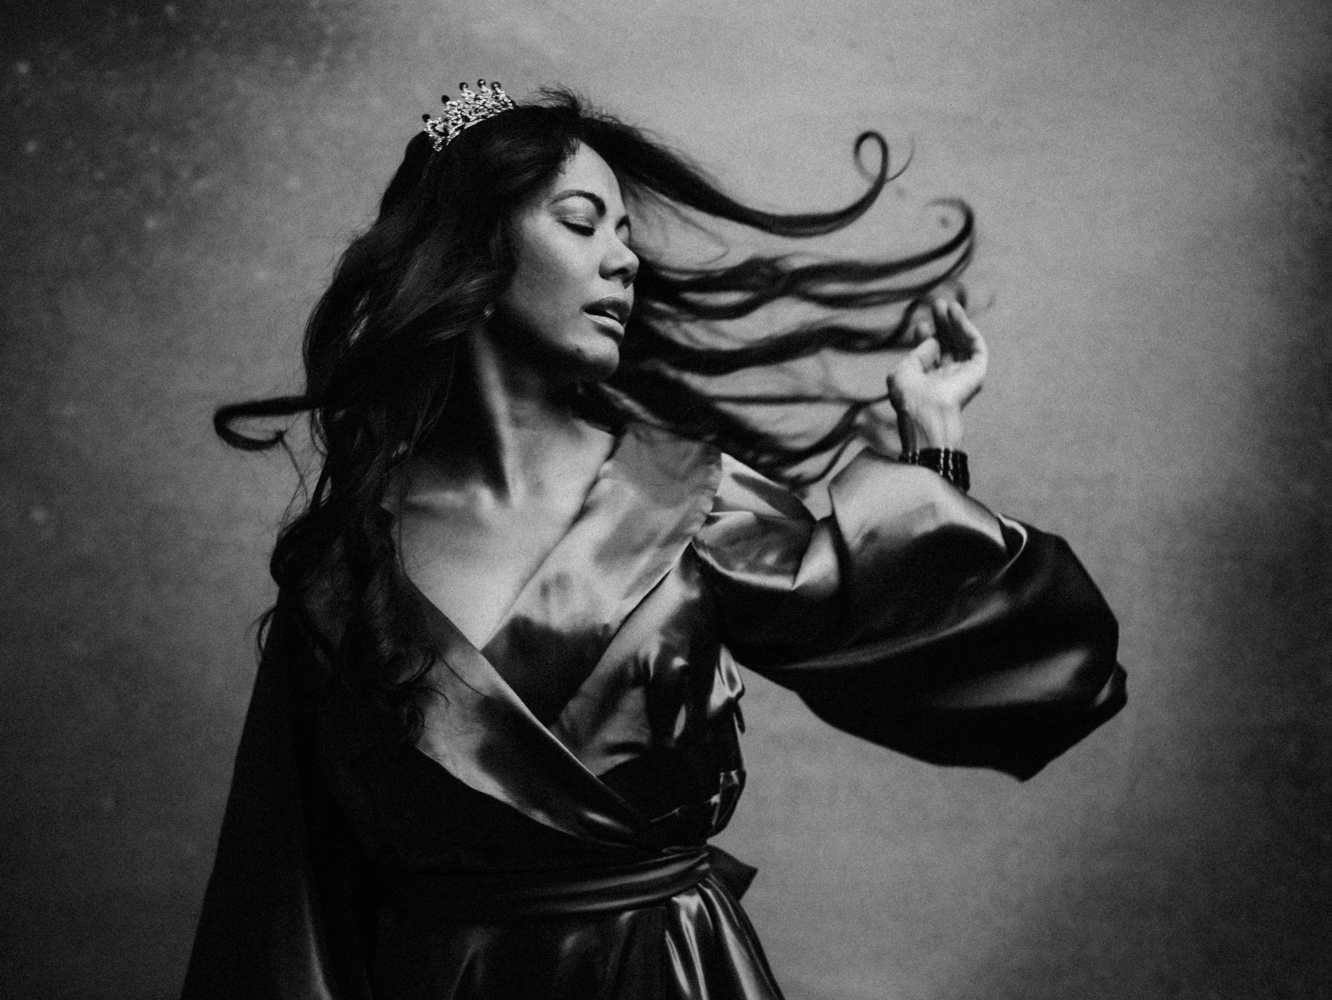
Of course I had to turn mine into grainy moody black and whites….
READ MORE
How to Shoot Dark and Moody Portraits


Comments +